
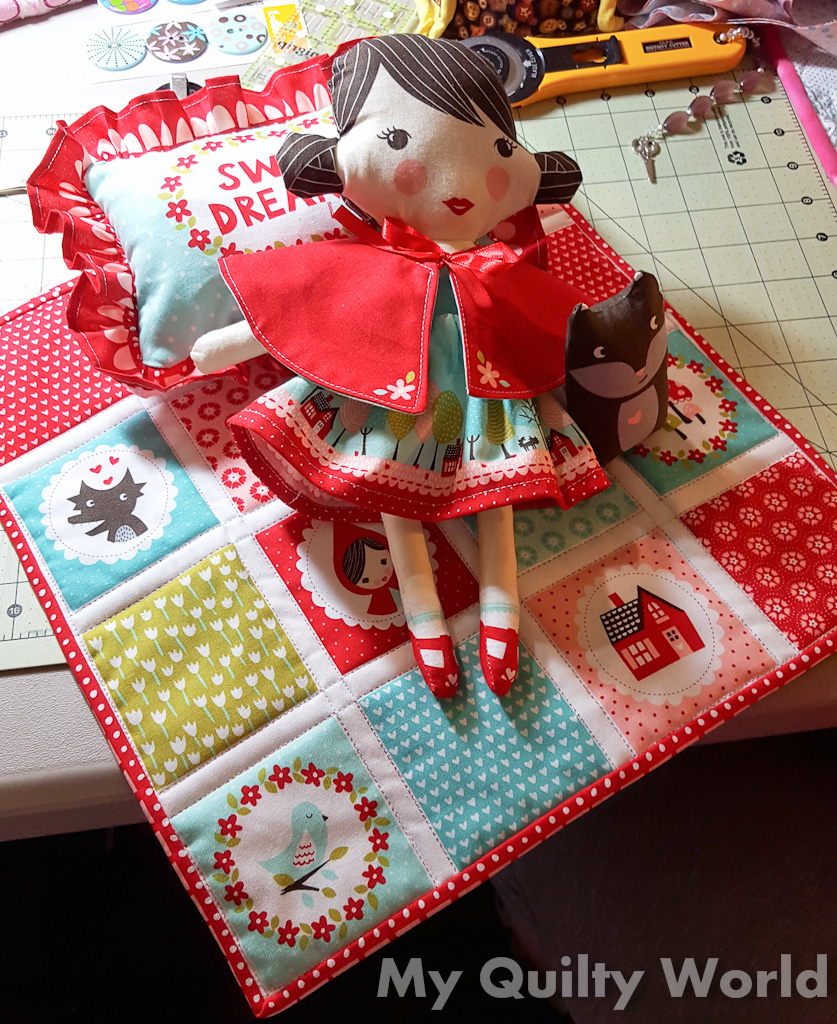
 I likely need to backtrack a bit so that you understand what all took place here. I started with a gifted L'il Red panel and three sample cards from United Notion that my dear friend Allison found for my granddaughter, Ophelia. At the last retreat, I used the panel to make the doll and accessories. I decided while there that I would use the sample cards to make a dress and hat for her as well. I cut the sample pieces into squares and then started sewing those together to make my "fabric" for the dress.
 The next step took place on another fun sew day with Allison. While se worked away, I cut out all the parts I needed for the dress and hat. (Oh, I found a super cute pattern on Etsy and sent for it.)
 I even cleaned up my mess from the day quite nicely and cut everything into workable squares if they were small pieces. There were a few larger sections left as well and I started sewing those together to make more "fabric" that could be cut out. I had an idea to make a small drawstring bag that would hold Li'l Red and her parts.

 Once I had several large pieces to work with, I started cutting out circles. I needed two for the outer section and used my Martelli cutting mat as my pattern.
Next, I also needed two smaller circles for the inner section. I hunted down another "circle" for the pattern and it appeared that my baking stone would do the trick. I had hoped to make this part out of the matching solid leftovers, but only had enough for one side. Now, what to do for the other side? I started cutting up the remaining scraps again and pulled in the squares I had cut the day before. It was crumb work at it's best. My brain was going like crazy trying to design the pattern as I went. I knew what I wanted, but wasn't sure how to go about it. I used the jewelry travel bag as inspiration and stared at the fabric for awhile before taking a break.


 I'm back now and have the required four circles for the pattern in my mind.
The first step is to take the two smaller circles and put them right sides together. Then, stitch a seam all the way around the outside (mine is 1/4"), leaving a small area to turn. Turn the circles right sides out and press.
Now, top stitch around the circle, catching in the open spot and closing it at the same time.
Using pins, mark four sewing guidelines. Vertical, horizontal, and both diagonals -- all through the center of the circle.


 Now, take the OUTSIDE larger circle and make one small buttonhole on each side. Make sure that you allow space for your seam when you sew the two units together. The buttonhole needs to be large enough to accommodate whatever cording you select as your drawstring. After your buttonholes are made, repeat the same process with these larger circles as you did with the smaller ones. Right sides together, sew leaving an area to turn, then turn press, and topstitch right along the edge. Topstitch a second line - staying in line with the end of the buttonhole nearest the edge. Topstitch a third line, being careful to stay right at the lower edge of your buttonhole. Do not go through the buttonhole. (I forgot to take a picture at this stage, but hopefully you can see enough on the finished picture at the right to know what I am talking about.)
Now, center your smaller circle on the larger and pin, using the marking pins that are already in the smaller circle. Stitch circles together, following the guides. You are almost finished.


 You need two lengths of whatever you are using to "draw" the bag up. I had some cording left from a previous project so used it. It's a bit thick and I would likely use something thinner next time. Run one strand into a buttonhole and push it around and out the other. Repeat, going around the other side with the second strand. Tie knots in the end of your string and draw the bag up. Your little pouches should appear on the inside. That's it.
No comments:
Post a Comment