
 Over the past month, I have cut up all available batting into squares for this and hunted down "snow" or "winter" fabric while shopping with friends. Even in Montana, I located fabric for this project and hauled it home with me.
 I have spent the last two days cutting it all into strips -- strips everywhere. I have also made ONE prototype that I am not that thrilled with.
Now guess what? I am leaving for retreat TOMORROW. I suppose it's time to learn how to do this properly. You Tube here I come again. Okay, I've watched several videos several times and am ready to give it another whirl. Wanna watch this experiment with me? First things first: After cutting the backs into squares, strips have to be sewn onto the little batting/backing sandwiches. Working two at a time and chaining, it goes rather quick.


Soon, I have covered the squares with strips.

The next step is to trim and square the packets. (Isn't this a cute backing?)

I'm making this one with eight 8 1/2" squares so need to cut to that size.

That leaves me with this great packet. Loving it.

Once I have all eight finished, I need a layout before moving on to the sashing step. Yes, with a directional back, I had to make sure they were all sitting the right way. Again, yes -- it would have been wise to think that through ahead of time. Alas, some of my strings are closer to the same fabric than I would have liked.


 I think I'll switch to a walking foot now since there will be so many layers going through the machine. The sashings get pinned to the front and back of one side of a packet.

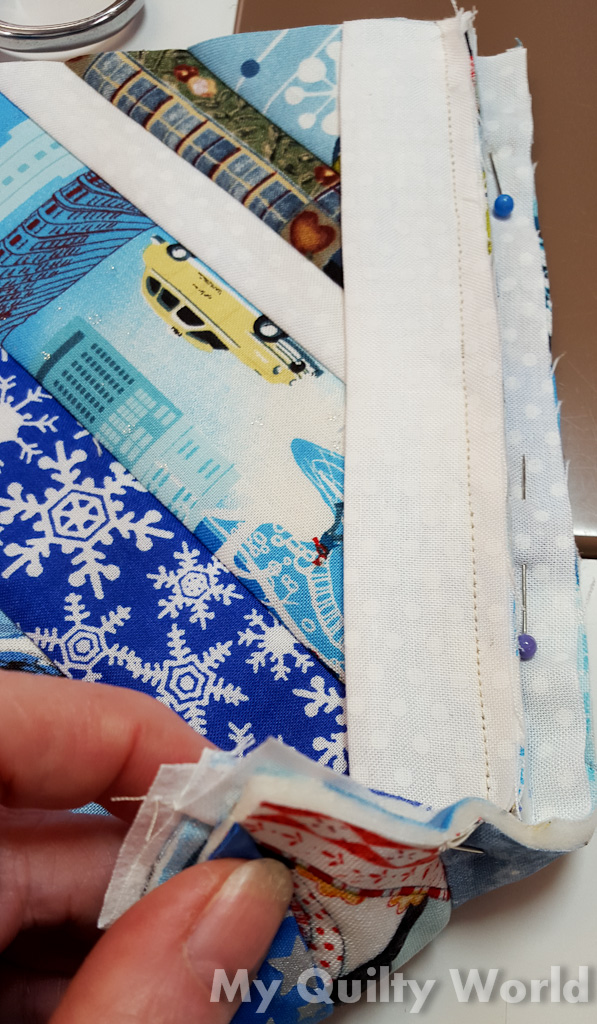 Once I have them sewn onto the right side of the first three packets in each row, then it is time to hook the backs together. Once that is complete, then the top and bottom rows are sewn together using the same sashing technique leaving me with a table runner that simply needs binding. I DO take the time to topstitch both sides of the front sashing so that there are not any ripples whatsoever.
A quick attachment of the binding and I'm ready for hand-stitching in the car tomorrow morning as my sweetheart takes me to retreat. Oh yeah -- I'm REALLY on top of this one. Look out -- here comes the teacher.

I finish the binding while being driven to retreat and here is a pic of both of my attempts set up and ready for the ladies. Heaven help them please.

No comments:
Post a Comment