Journeys often take routes that are unplanned, such as our trip to Arkansas or have unexpected events which alter one's idea of the planned outcome. It happens. It's part of life. This mystery has taken on a life of its own at several times and I've had to adjust and reroute just as our daily lives have done the same. If only the road could always be straight.
Have you enjoyed this journey? Has the path been straight for you? I hope so and that you have walked away with a positive experience. I know it is challenging to blindly follow someone else's vision. Thank you for having enough confidence in me to do so.
So, without further ado, this post is our REVEAL. Yep, we're finishing it up. It's time as my friend, Bonnie Hunter, has colors coming out for her mystery today and I want everyone to be able to focus on that if they choose to. Let's get going and I would suggest reading all the way to the end first --- now, how many zipped to the end FIRST when they knew it was the reveal?? Come on, be honest.
Here we go --- This is your layout! Please note that the Block B's all have the four-patch in the upper right corner.
I am webbing my top as it just comes naturally to me and helps me to keep the blocks going the right direction.
Is it perfect? Nope and neither is this year or this journey. I'm okay with that.
Time to press, press, press.
Remember those black strips you cut back in clue 2? Find them and they are your inner border. Sew them end to end into one long strip.
I lay my strip down the middle of my quilt and cut TWO (one for each side) to fit.
Pin to sides.
Breaking the rules once again. I sew with the border on the bottom so that I can watch my points and not chop any off. It just makes sense to me.
First two sides one and pressed out.
Repeat the process of measuring through the center for the top and bottom, making sure the new side borders are included. Cut TWO.
Pin, attach as before, and press out.
Now, it's time for those strips that we made in Clue 2 to come into play. I admit to being a bit deceptive by saying that they would be cut, but it is true in that we WILL cut a few pieces off to make our corners. This is our final unit.
Unit 7 - Make 4
At this point, I knew what I wanted to do but was super unsure how to go about it. Out came papers and lines drawn to match what I had sewn.
Using the Easy Angle Ruler, I started laying the papers in different combinations until I found the right one to achieve my goal. For those of you who had done mock mitered corners before, I'm sure my process has you shaking your head. However, this was all new to me and I wanted to do it on my own without looking it up online. It took a few pieces of paper, but, in the words of my granddaughter, "I DID IT!" Now it's your turn.
Take 2 strips from Clue 2
Lay them right sides together so that the seams nest.
Lay your strips, right sides together, seams nesting and with the Easy Angle Ruler, use the 5 1/2" line as a guide. Make the first cut.
Flip the ruler as shown and make the second cut.
Repeat this process with two more cuts so that you have four sets.
Sew these triangles together. They are already matched and ready to go. How glorious. Can I tell you how nervous I am right now? I have perma-grin as I open them up. Oh my, it worked and I love them. Set the corners aside for now.
STARTING with the shorter strips, mark them as the beginning and then sew all the strips end to end to create one very long strip. If you don't start with the smaller strips, as you go to add your borders, you will wind up with very small pieces of the border sitting right next to the corners.
Using the same - down the middle - method of cutting borders (shown above with black) make one change. CUT FOUR. All of your borders are the same length. Sew the two sides on.
You will attach the corners to your top and bottom borders before attaching to the quilt top.
I laid mine out like this and AFTER I sewed them, I realized that if I just made two the same and turned one upside down, I would have accomplished the same thing.
I'm not a pinner. You've all heard me say that before. However, I pinned. A lot. I REALLY want these seams to match.
For me, it's close enough and I'm thrilled with the result.
Attach the final two borders and you have a top.
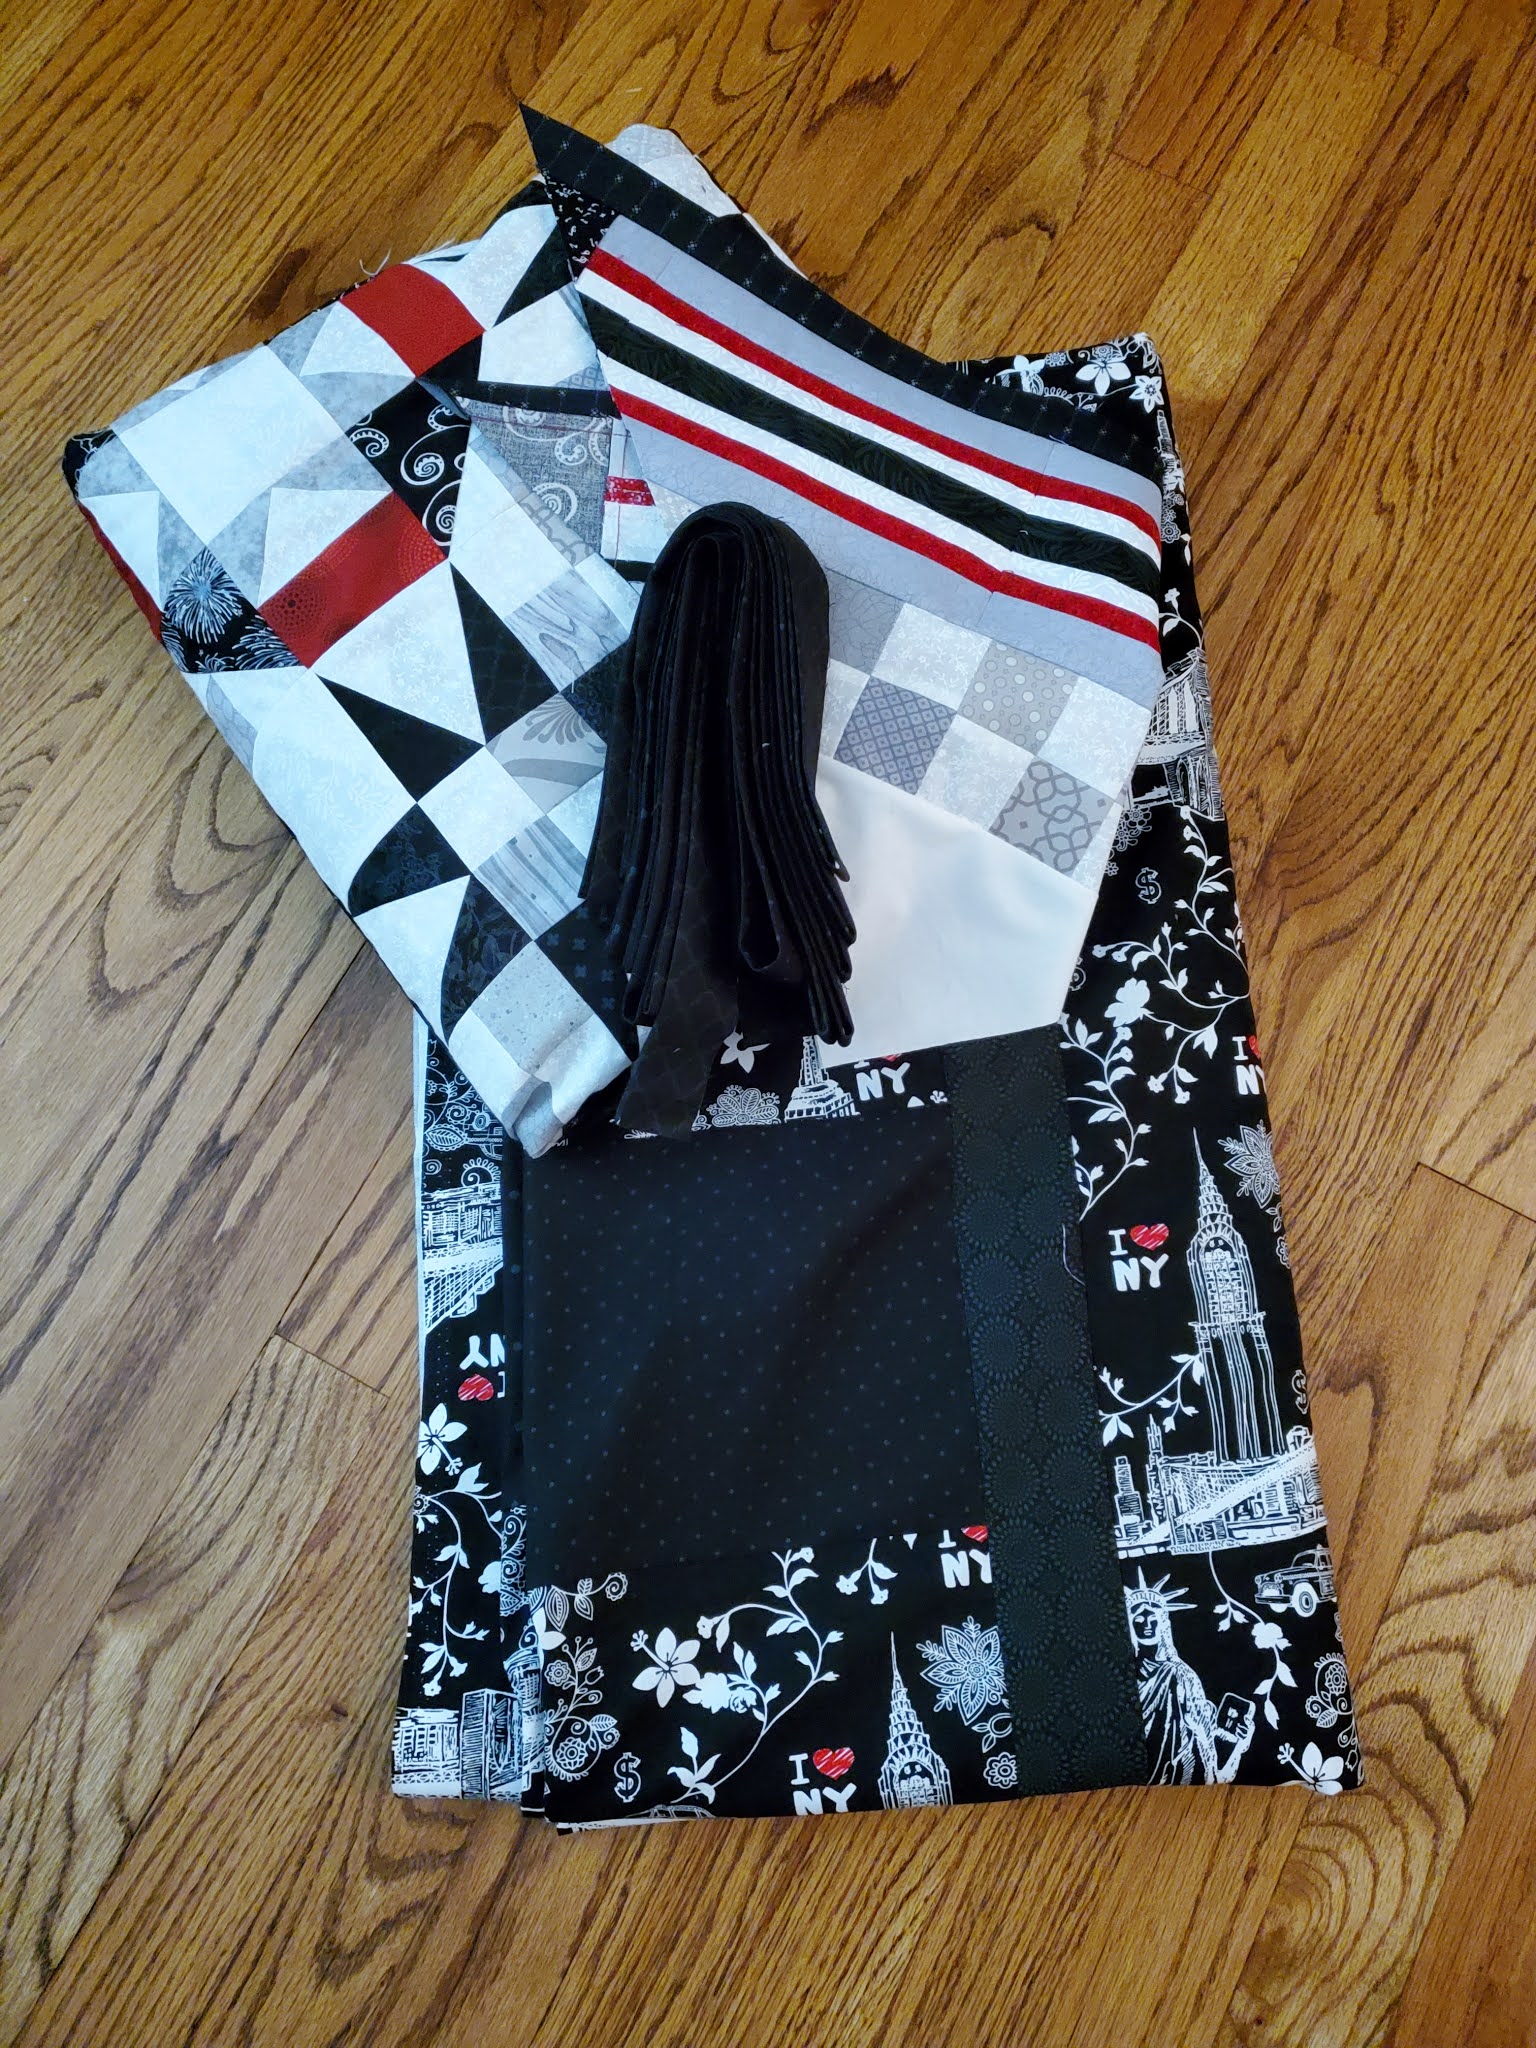
At this point, I moved onto the back and had purchased this fabric YEARS ago as this quilt also has to do with the Journey I have made with my husband. We fell in love in New York and have just celebrated our 10th anniversary. This quilt is for our bed.
Sadly, though, I was short a wee bit of fabric and so with leftover black strips, I put together a ladder on the back --- still fits the Journey theme, right?
Now for some leftover black jelly roll strips. It'll be scrappy, but it will work out great for binding.
My OCD won't allow me to move to quilting until I have all pieces in place to finish. It is what it is. I now take all the leftover pieces of border and sew them together.

Toss in some leftover four-patches and inner border and soon my label is complete. NOW, I can start to quilt.
Onto the frame. She's loaded and I have had an idea of how I want it quilted from the very minute that I designed the border. Now, I need to think some more on the way to achieve my goal.
Honestly and full disclosure here. It took me three times to load the quilt as my brain just couldn't get it figure out today. Goodness. Then I went to change the needle and start fresh and simply could NOT get the needle back in. Hey Mister ---- An hour later, I am finally ready to go.
It's just going to take bravery. I just need to let it happen. With some chalk, I hand write a guide to follow and away I go. If you look close, you'll see that it was just a guide and I'm off most of the time. Just writing away. The guide helped me make sure it would come out even at the ends. Loose threads -- the bane of any quilter.
Next, a small meander in the inner border.
At this point I realize that I can't write sideways and have it look decent. I move the needle past the inner border and simply quilt the center with simple loops. Three rows down, my thread breaks, and I am ready to take a rest today.
Two days later, I am ready to get this finished. Trouble is, my machine is not. I've rethreaded the machine, finished the row, rolled the quilt, and now the machine will not work. Period. It keeps giving me "needle sensor failure during walk" and "speed sensor failure" warnings. I'm so lost as I've gone online and tried to see how to fix these. Phone calls were made, groups were joined, etc. One last time out to the studio and another set of diagnostics run and it's working beautifully. WTW??? Now I'm afraid to turn it off so away I go up until the bottom outer border.
Here is the thread situation at this point too. Now to hunt for more grey thread. What next?
Coming off the frame the first time.
I've now turned it so the bottom is at the top and reattached, written with chalk and am doing the outer border number 2.
Two more turns and the other two borders are finished and off it comes for the the last time.
Trimming and attaching binding comes next.
My last few moments with this quilt. Happy moments.
TA-DA (It's beautiful day but straight sun is not the best to take a picture --- makes it washed out but oh well.)
A little later, perhaps a shadier spot. One more time. Thank you for playing along. I had a great time and hope you did as well. Stay creative y'all.


Congratulations! Beautiful!
ReplyDeleteThank you so very much. It was fun to work on.
Delete