It seems appropriate to use one of Bonnie's quilts for this so here is Razzle Dazzle all laid out and ready to roll.


 Step one is to lay out the grey cover fabric with the right side down, top it with the Insulbrite and then I even add another layer of batting just to make sure the wood doesn't get too hot. Now to place the tray table upside down on the whole little sandwich.


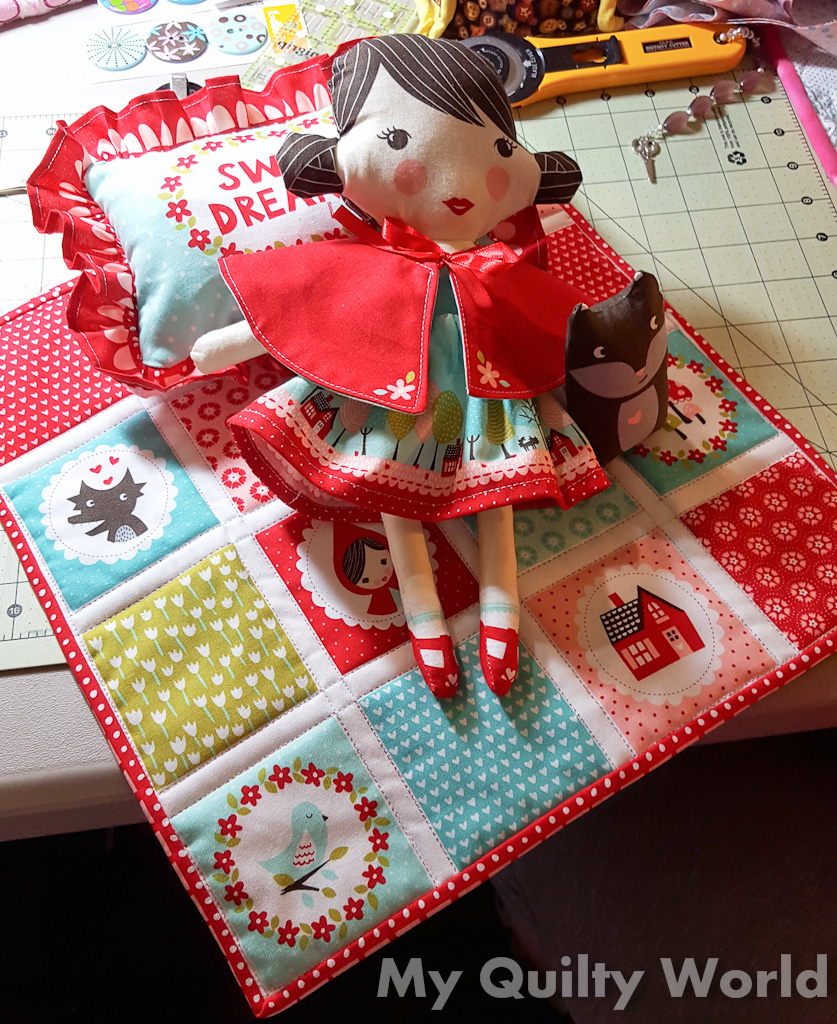 I likely need to backtrack a bit so that you understand what all took place here. I started with a gifted L'il Red panel and three sample cards from United Notion that my dear friend Allison found for my granddaughter, Ophelia. At the last retreat, I used the panel to make the doll and accessories. I decided while there that I would use the sample cards to make a dress and hat for her as well. I cut the sample pieces into squares and then started sewing those together to make my "fabric" for the dress.
 Over the past month, I have cut up all available batting into squares for this and hunted down "snow" or "winter" fabric while shopping with friends. Even in Montana, I located fabric for this project and hauled it home with me.
 I have spent the last two days cutting it all into strips -- strips everywhere. I have also made ONE prototype that I am not that thrilled with.


 I think I'll switch to a walking foot now since there will be so many layers going through the machine. The sashings get pinned to the front and back of one side of a packet.

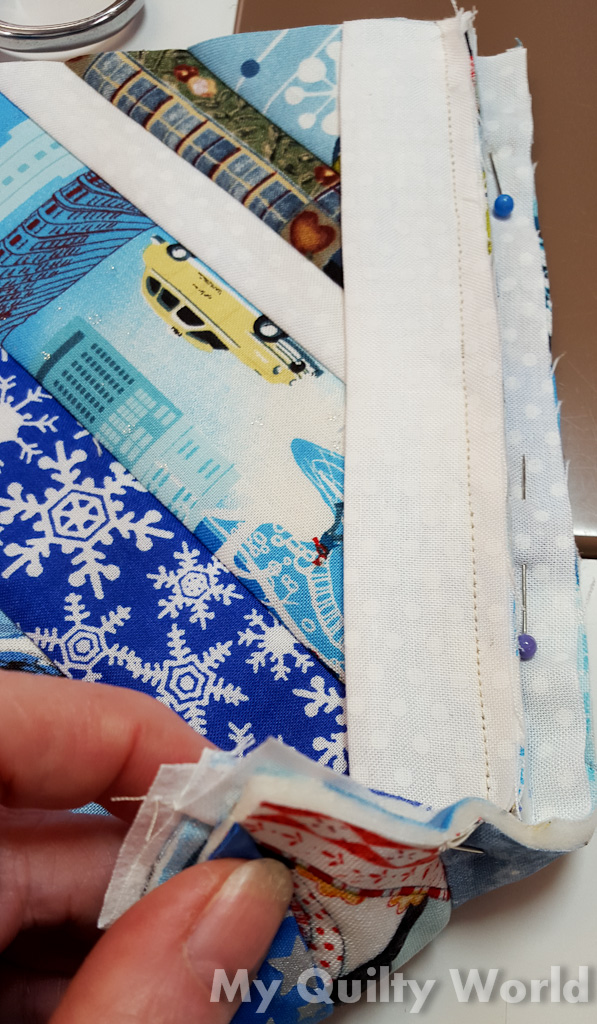 Once I have them sewn onto the right side of the first three packets in each row, then it is time to hook the backs together. Once that is complete, then the top and bottom rows are sewn together using the same sashing technique leaving me with a table runner that simply needs binding. I DO take the time to topstitch both sides of the front sashing so that there are not any ripples whatsoever.


 It has been decided that we will make a quilt for Kay, the owner of Brazos House, as a thank you for taking such good care of all of us. We are going to present it in November and each person is making a "chicken" churn dash block for it. I offered to make two in case Jen runs out of time getting to hers. I am going to keep this a running post and will update as I get information and see the progress of the quilt. It can easily be found by clicking the tab at the top of the blog when you want to see the updates.
 I found my two fabrics at the Dallas Quilt show and went to the stash for the complimentary fabrics. Sharron is in charge of this project and she has asked us to do a dark border and then the pastel color of it for the outer border. Can do.

 Lay out how you want it to look and sew just like a nine-patch.

 After discovering that I have to "unstitch" 46 nine-patches, I decide to actually take the time to learn how to use the seam ripper properly. I'm sitting in an airplane en route to Salt Lake City at 10:00 p.m. Doesn't that sound like an appropriate time to learn something new?
 Ah yes --- the big reveal. Well that is a wee bit funny since one could peek ahead and just about everyone did. I tried really hard not to and simply moved ahead a couple of times during the clues. Now we are on the last week. Whew. It's time to get to work again. I have about 45 leftover shaded four-patch blocks (yep, got carried away and it turns out that for a change it is a good thing) and am going to use them in the border. That means I need about 55 more or so. They are cut and ready to go. While I am working on these border pieces and other border strips, I want to get the label made as leaders and enders. I have a starting plan using some leftover blocks and pieces from cutting the orange squares used in the album blocks. Once I have the rest of the units put together, I make the border strips and lay everything out.
 It seems like I am doing 4 patches right now for almost every project I have going, so I thought I would do a shot tutorial in conjunction with this clue post. I have developed my own way of doing scrappy 4 patches and even though I know others take more short cuts -- this is what works for me to get the best mix of the fabrics I have available. Since these have one constant fabric it makes it easy to show my method. I start by matching up one of the scrappy fabric (in this case black on white prints) with one of the constant (for this quilt it is grey) fabric strips. I use up everything that is available so my strips are all different lengths. When sewing the strips together, if one strip is shorter, I don't cut it, I just add another strip to the short side and keep going, thus giving me one continuous length of strip sets until I have used up all 20 of my constant strips. (They were the one I determined amount with as I could do the math and get the required inches that way.)
